Starting from April 2018 Update of Windows 10 (Version 1803), you are allowed to set the default audio device for every application separately.
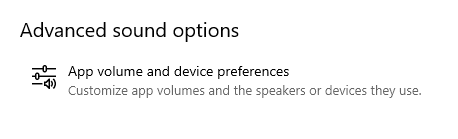
You can do it by clicking the ‘App volume and device preferences’ button inside the ‘Sound settings’ window.
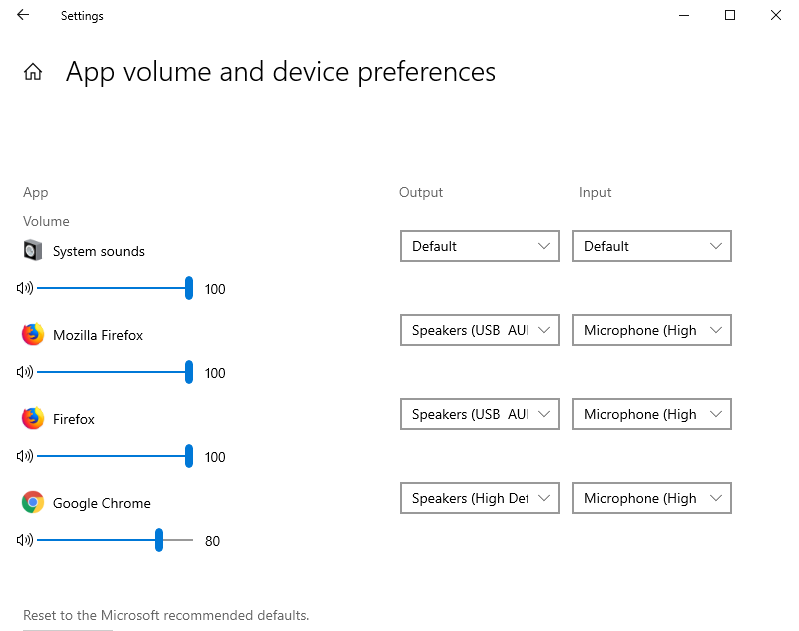
Inside the ‘App volume and device preferences’ window, you can choose the default input device and output device for every sound application currently running on your system:
The new version of SoundVolumeView (2.10) allows you to do the same thing from command line, without displaying any user interface.
The command that sets the default audio device of specific application is /SetAppDefault .
This command accepts 3 parameters: The device name, the device role (0 – Console, 1 – Multimedia, 2 – Communications), name or ID of the process.
For example, the following command sets the default output device of Firefox to “High Definition Audio Device\Device\Speakers\Render” :
SoundVolumeView.exe /SetAppDefault “High Definition Audio Device\Device\Speakers\Render” 0 “Firefox.exe”
The following command sets the default input device of process that its ID is 6380 to the desired Microphone device:
SoundVolumeView.exe /SetAppDefault “Realtek High Definition Audio\Device\Microphone\Capture” 0 6380
You can download the new version of SoundVolumeView from this Web page.